Oct 12, 2023
Calculate labor, material, and overhead costs for accurate project pricing for Landscaping business
Published on September 8, 2023
The latest Twitter Places feature allows users to tweet their precise location by name, whether it's the local neighborhood bar or a major sports stadium in the United States. For businesses and organizations aiming to broaden their audience, incorporating a location into your tweets is a valuable strategy. This approach can significantly boost engagement and expand your reach.
By attaching a location to your tweets, you can target individuals within a particular geographic region, enabling you to craft messages that resonate more effectively with a specific audience.
Twitter has been actively supporting professionals, from creators to businesses, by offering free-to-use tools to boost their presence and customer engagement. The Location Spotlight feature, now accessible to professionals worldwide, is a significant addition to this effort.
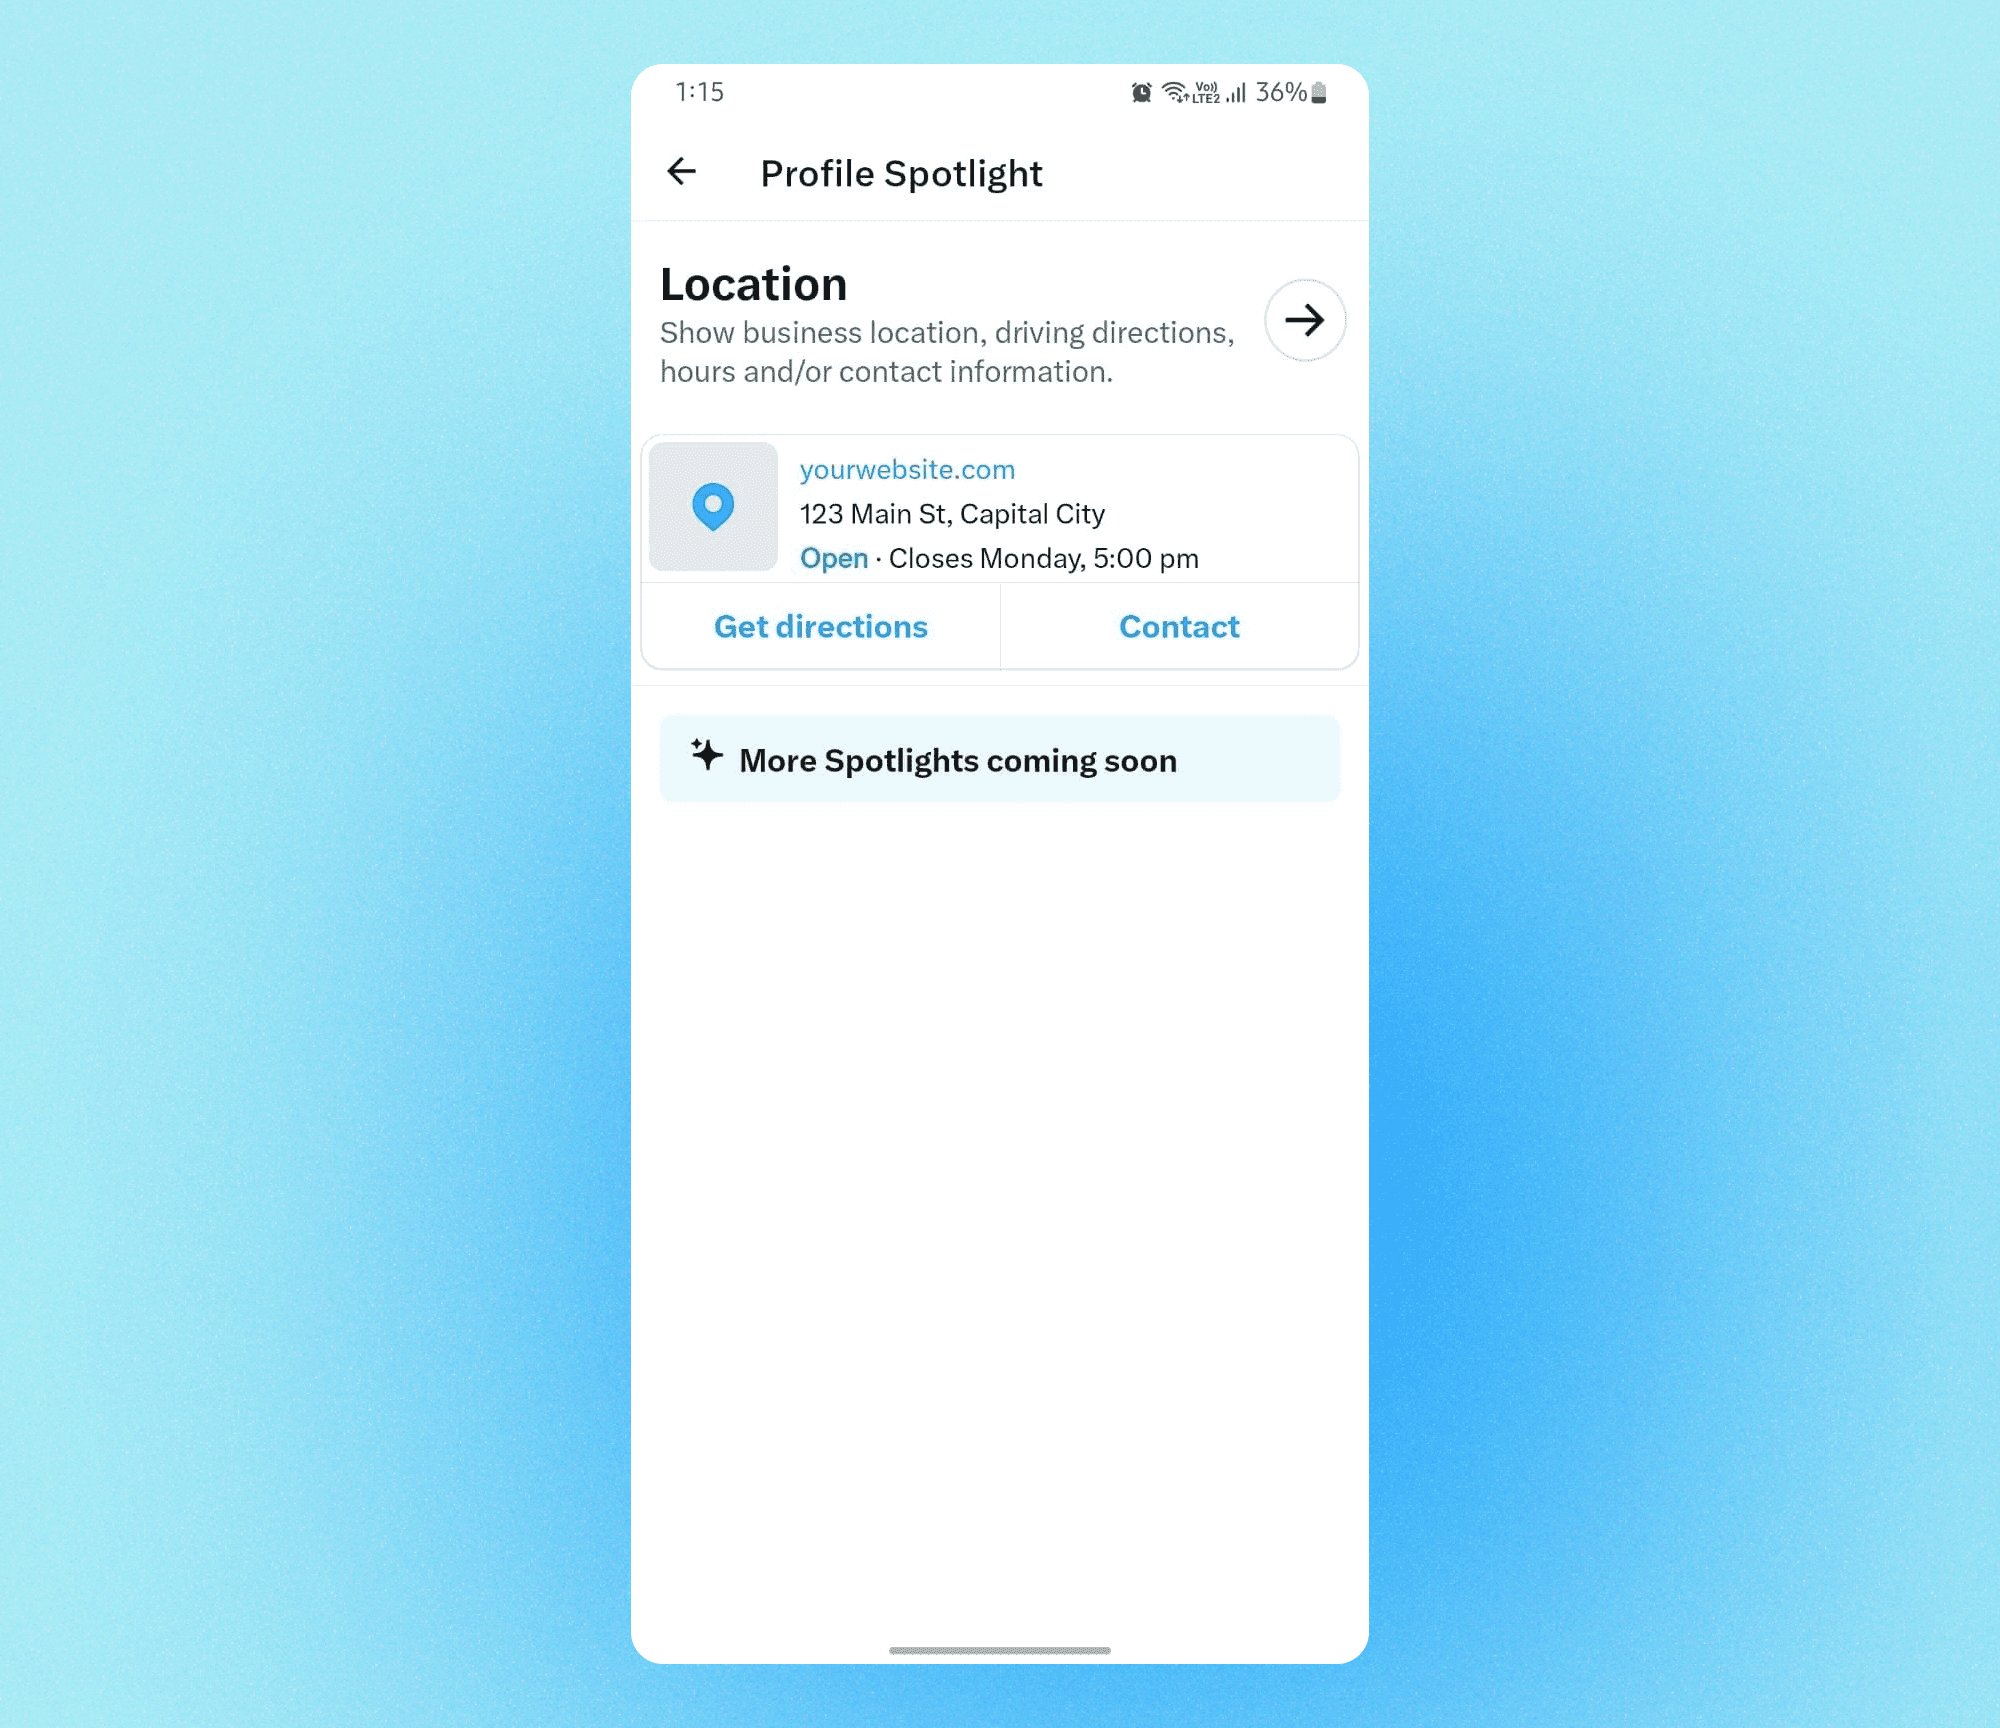
Location Spotlight enables professionals with physical business locations to highlight key details like their address, hours of operation, and contact information. Customers can easily connect via phone, text, email, or Twitter Direct Message.
Access Your Twitter Account: Log in to your Twitter account.
Navigate to Your Profile: Click on your profile picture or your profile name to access your Twitter profile.
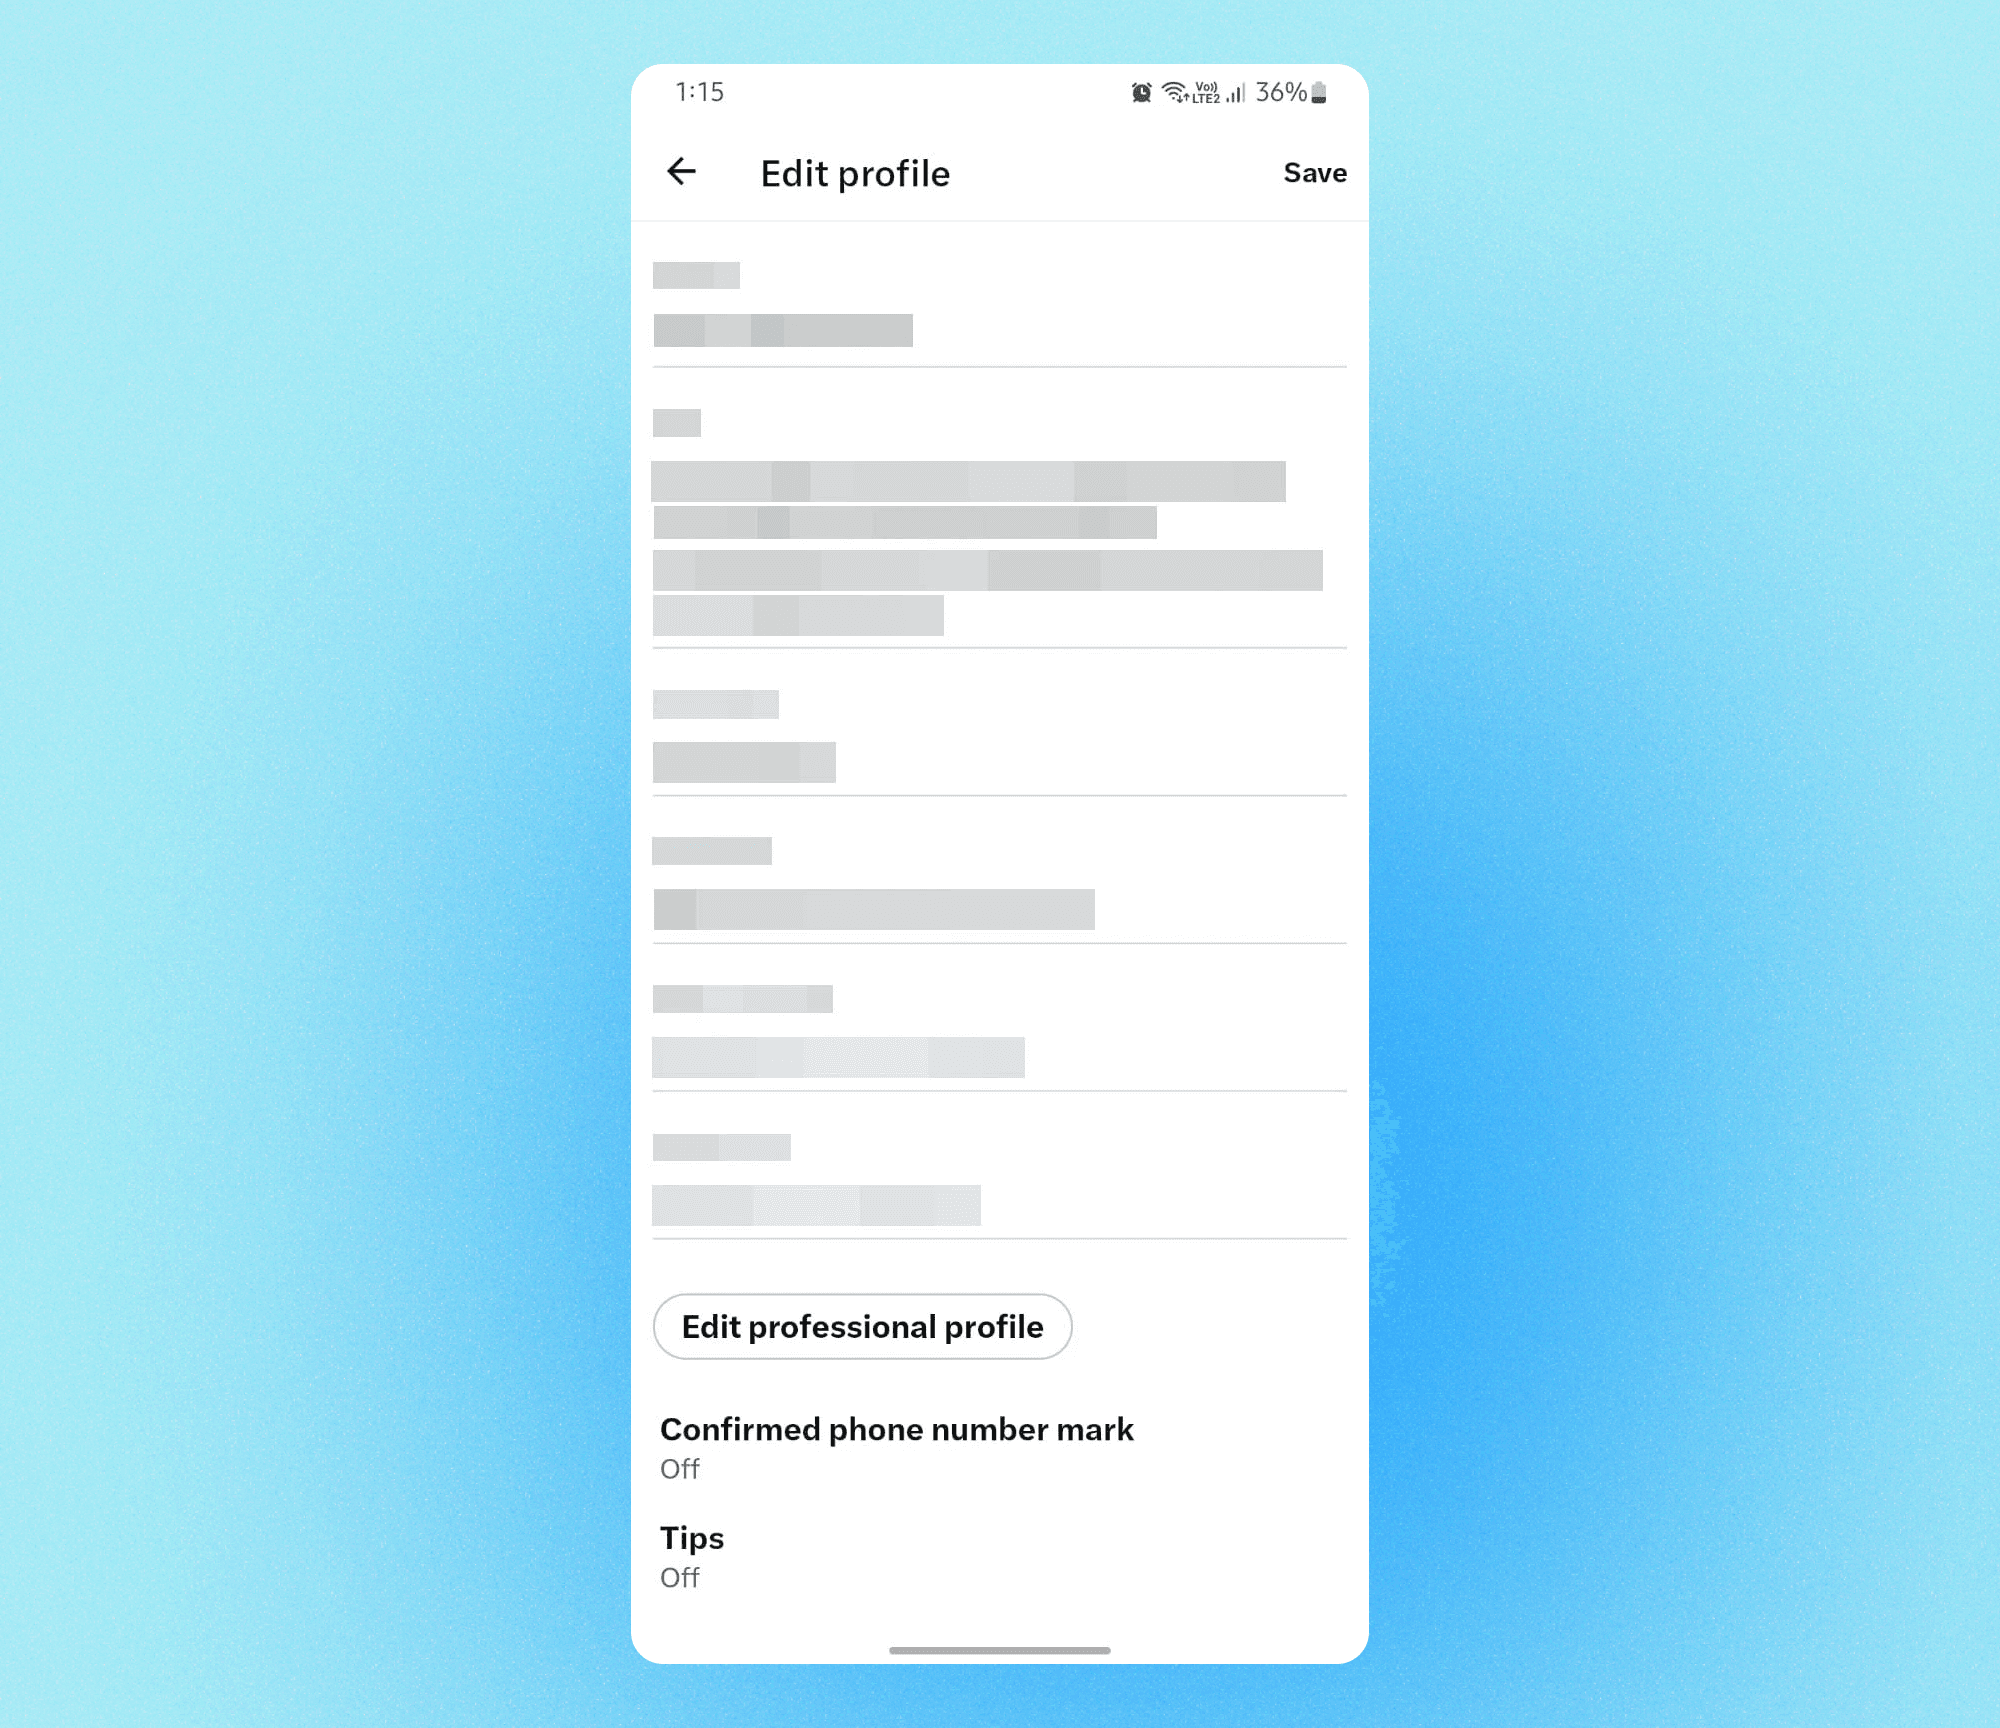
Edit Your Profile: Look for the "Edit profile" button or option on your profile page. Click on it to start editing your profile.

Add Location Information: Scroll down on the editing page until you find the section for adding location information. You should see fields for your business address, operating hours, and additional contact details.
Enter Business Details: Fill in the necessary information, including your business address, hours of operation, and any other contact details you want to provide.
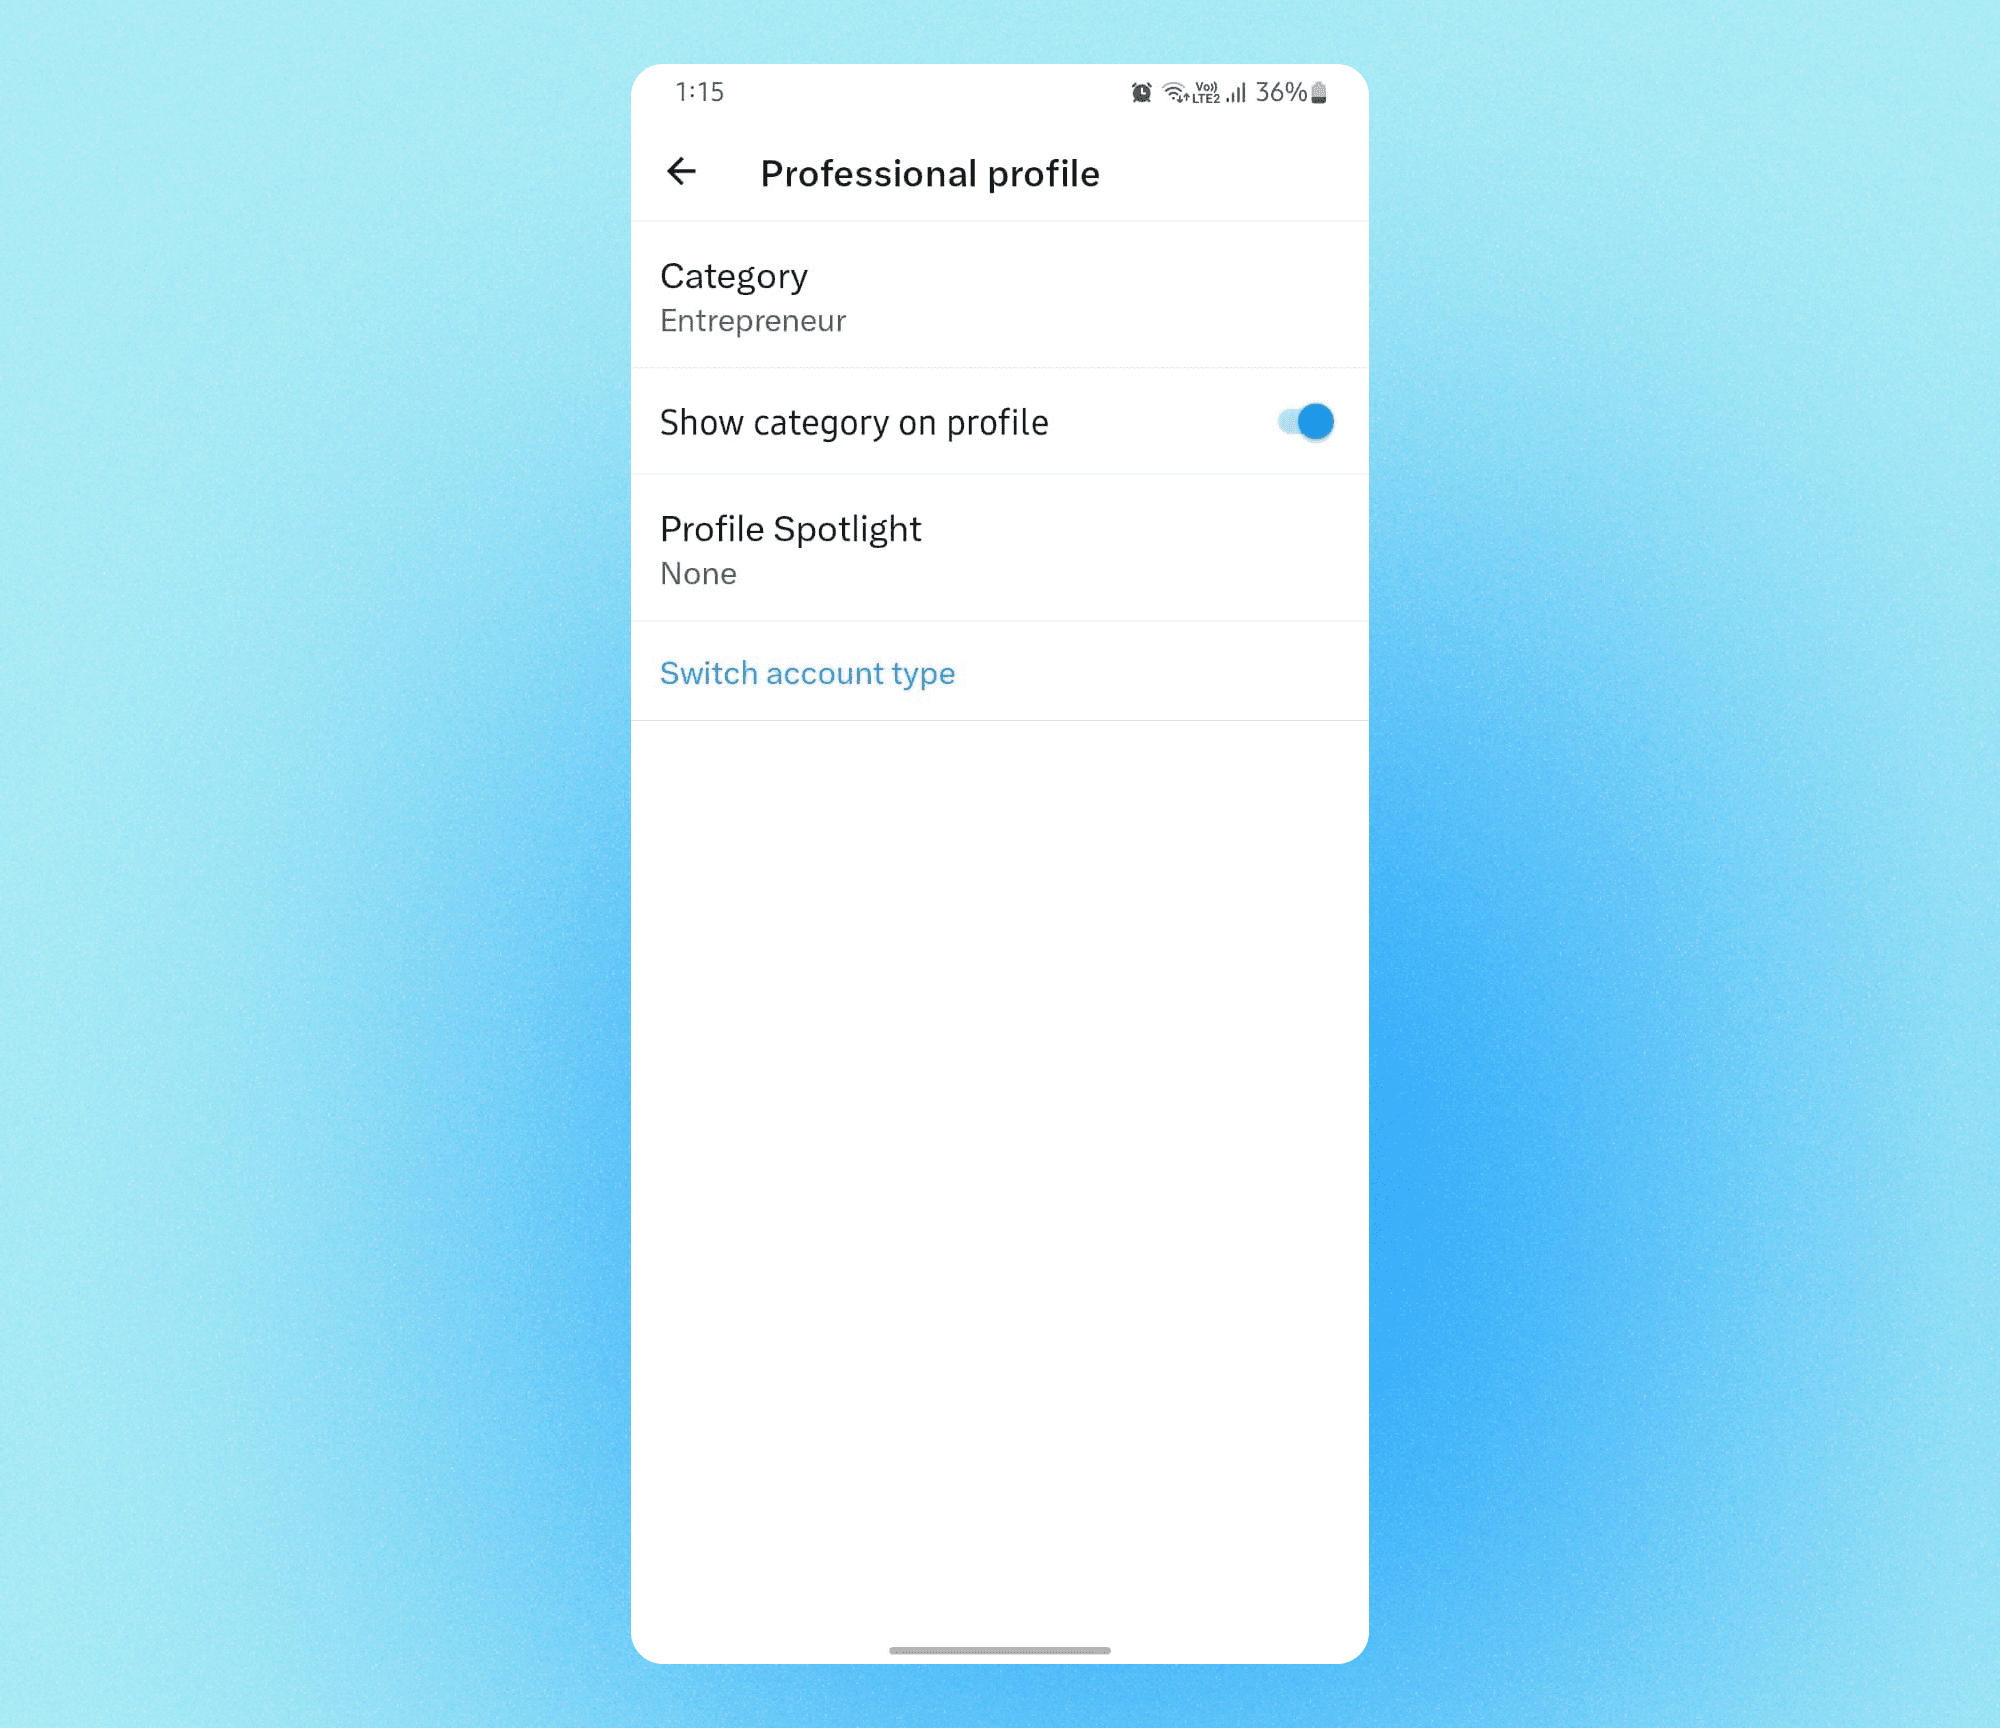
Enable Location Spotlight: There should be an option to enable the Location Spotlight. Make sure this option is turned on to activate the feature.

Save Your Changes: After entering all the required information and enabling the Location Spotlight, don't forget to save your changes. Look for a "Save" or "Save changes" button on the page and click it.

Verify the Spotlight: Go back to your Twitter profile to ensure that the Location Spotlight is now visible to your followers. It should display your business address, operating hours, and contact details.
Explore the Map Integration: If you've integrated Google Maps, test it out by clicking on the map to see if it provides directions to your business location.
Engage with Customers: Now that your Location Spotlight is active, be prepared to engage with customers who may reach out to you via phone, text, email, or Twitter Direct Message based on the information you've provided.
That's it! You've successfully set up and activated the Location Spotlight feature on your Twitter profile, making it easier for customers to connect with your business.
You can read more about it here.
Twitter allows you to share your current location when composing a tweet. Here's a quick guide on how to do it:
Step 1: Launch the Twitter app on your mobile device.
Step 2: Tap the "Compose" button to start writing your tweet.
Step 3: For the location icon, which resembles a pin, on the tweet composition screen.
Step 4:Tap the location icon, and Twitter will automatically detect your current location.
Step 5: Finish composing your tweet and click "Tweet" to share it with your current location attached.
If you want to add or update your location on your Twitter profile, follow these steps:
Step 1: Open your Twitter account and log in if you haven't already.
Step 2: Click on your profile picture or your profile name to access your Twitter profile.
Step 3: On your profile page, click the "Edit profile" button.
Step 4: Scroll down to the "Location" field, and you can add or edit your location information here.
Step 5: After entering your location, make sure to click the "Save" or "Save changes" button at the bottom of the page to update your profile with the new location.
Tagging a specific location in your tweet is a straightforward process
Step 1: Begin by opening the Twitter app or website and clicking the "Compose" button to create a new tweet.
Step 2: In your tweet text, type the "@" symbol followed by the name of the specific location you want to tag.
Step 3: As you type the location name, Twitter will suggest location options in a dropdown menu. Select the correct location from the suggestions.
Step 4: Complete your tweet, add any additional content you want, and click "Tweet" to share your tweet with the specific location tagged.
If you wish to eliminate location data from appearing in your past Tweets, whether they were posted from mobile devices or the web, you have two options:
Option 1: Deleting a Specific Tweet with Location Data
Sign in to your Twitter account at twitter.com.
Locate the particular Tweet containing the location data you want to erase.
Click on the Tweet to open it.
Find and select the "Delete" option. This will remove the tweet along with any associated location data.
Option 2: Removing Location Data from All Tweets
Log in to your Twitter account on twitter.com.
Access your account's settings by clicking on your profile picture or name.
Go to "Security and privacy settings."
In the "Privacy" section, find the "Tweet location" option.
Click on "Delete all location information." Please be aware that this process may take up to 30 minutes to complete.
By following these steps, you can effectively eliminate location data from your previous Tweets. Whether you choose to delete specific Tweets or remove location information from all of them, the choice is yours.
Adding a location to your Twitter profile is a great way for your customers and influencers to connect with your business and enhance your brand image.
But it's not just limited to Twitter; you can now manage all your customer interactions across multiple channels, including chats, reviews, and analytics, while also adding numerous business locations, all from a single dashboard.